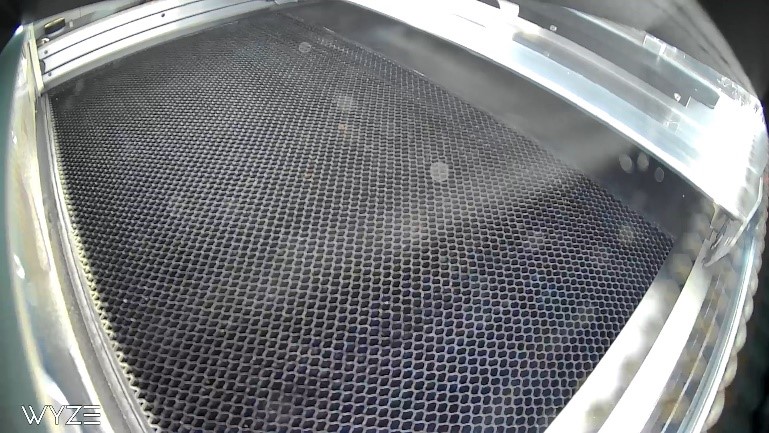
Creating things with the Glowforge Laser is pretty cool. Showing a time-lapse video of that process is even cooler! Perfect for showing off with YouTube, Instagram, or Facebook.
In this post:
- Template for perfect alignment
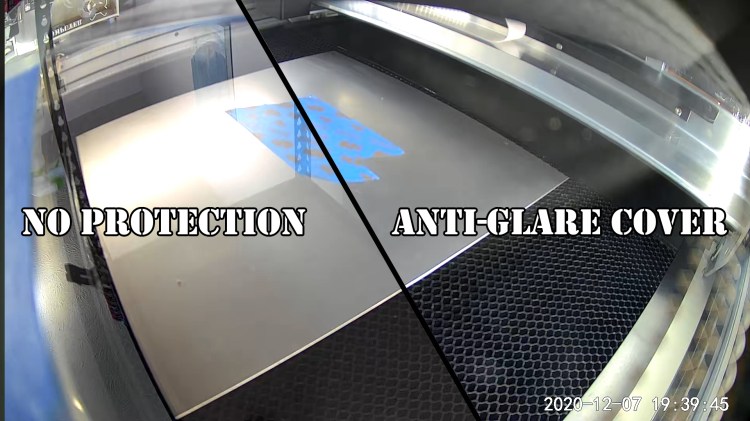
- Cover to block glare & reflections
- Instructions for mounting
- Instructions for cable management
- Recommended camera settings
- Zip file containing positioning template SVG, cover SVG, Instruction PDF, and recommended Wyze Cam settings PDF
Free download at end of post
Mount Wyze Cam v3 to Glowforge Lid
Materials
• 1x Wyze Cam V3
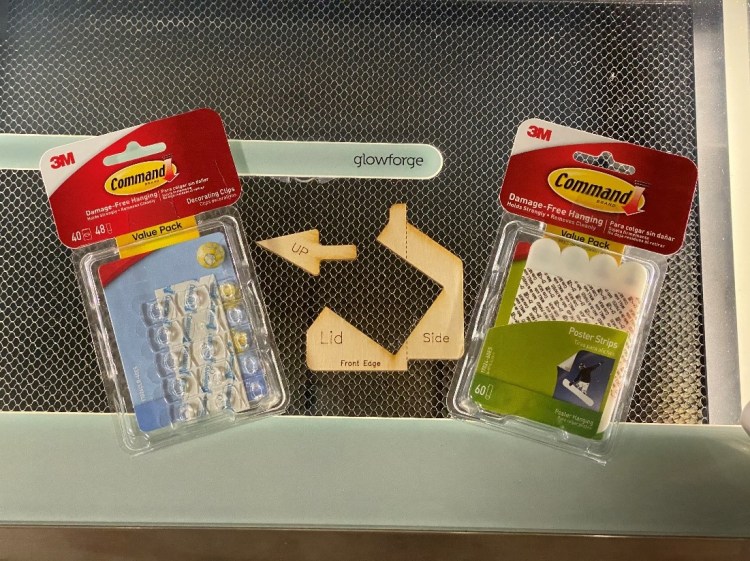
• 1x Template
• 1x Command Poster Strip
• 6x Command Decorating Clips
Installation
Before attaching the Wyze Cam v3 to your Glowforge, follow the setup guide in the Wyze Cam box to get camera connected to wifi and signed into your Wyze account.
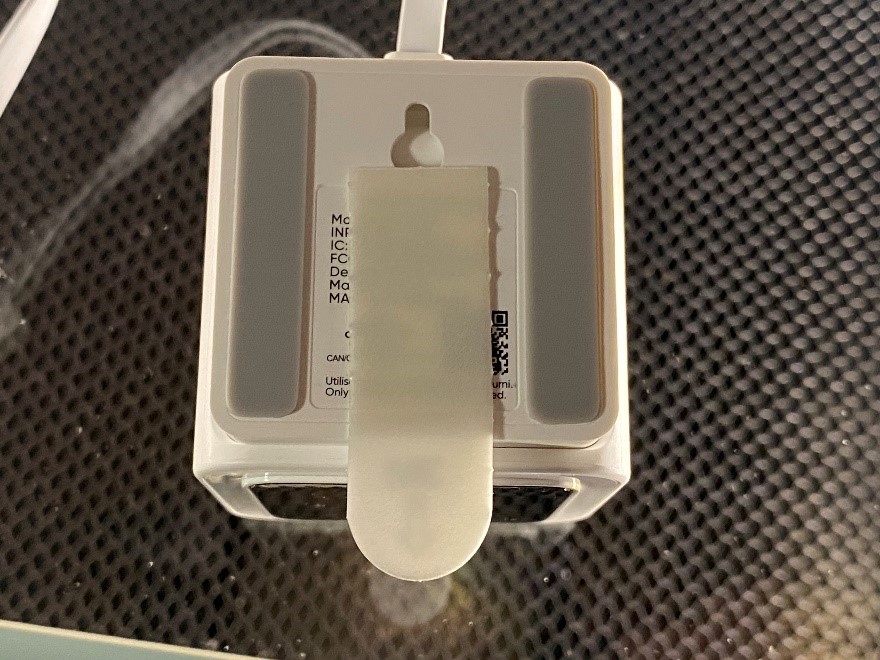
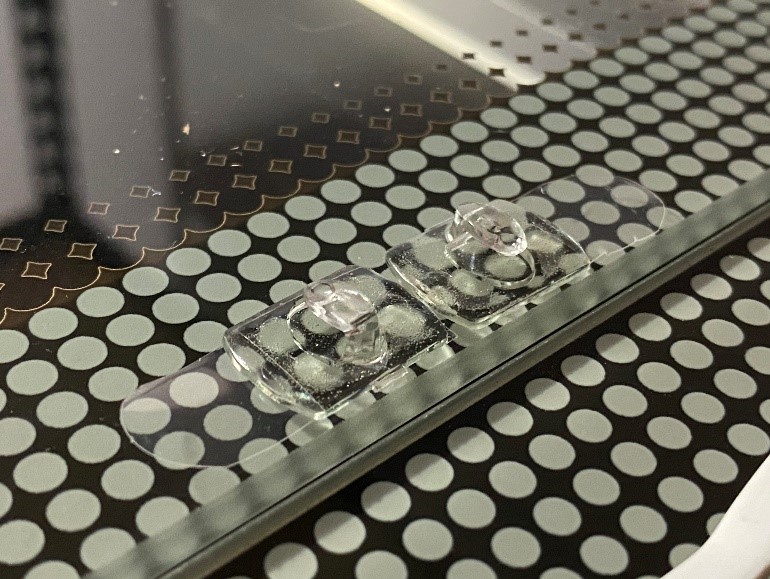
Place poster strip on bottom of camera with tab to front
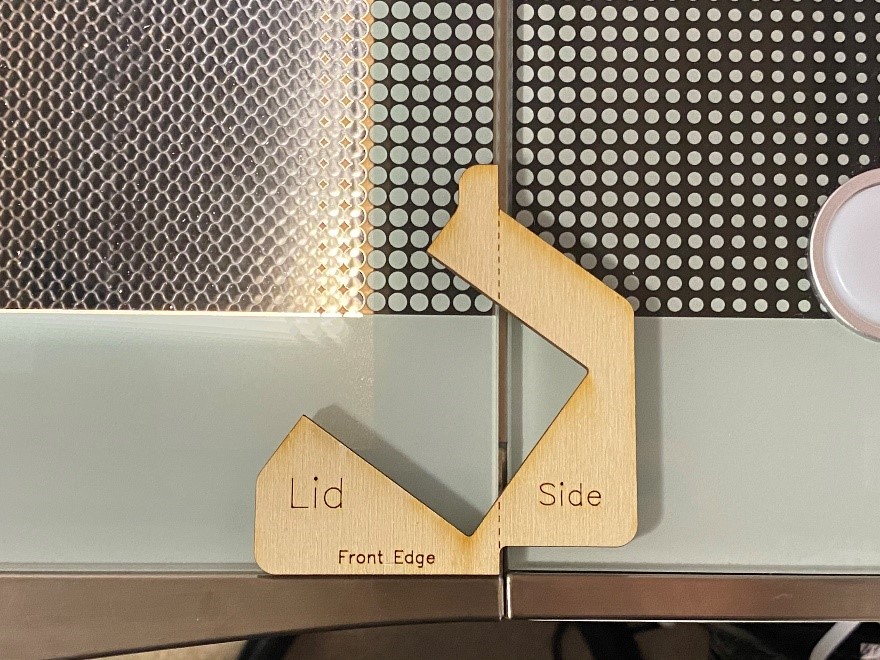
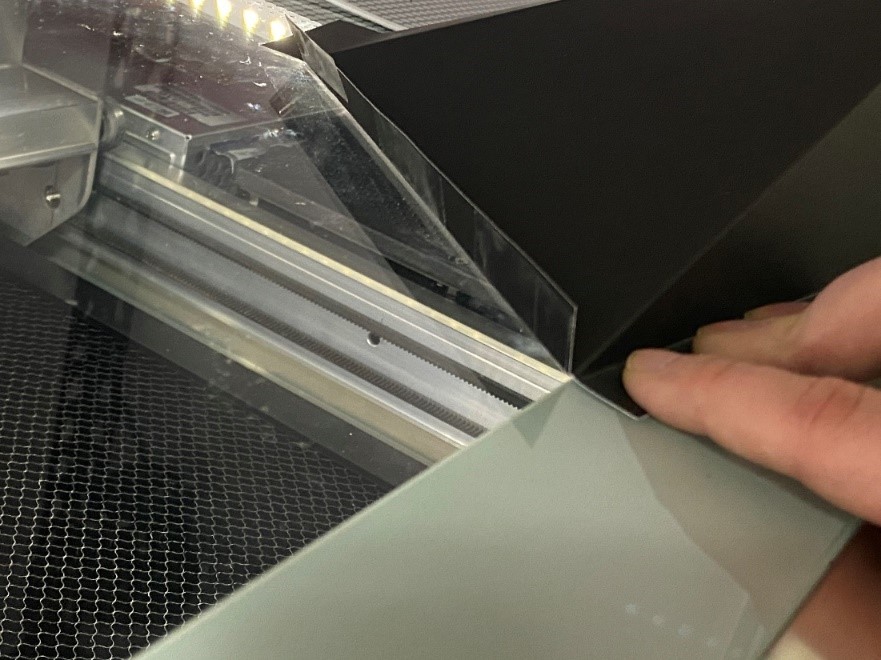
Slide positioning template against metal trim on front of unit
Align the dashed line with the edge of the lid glass
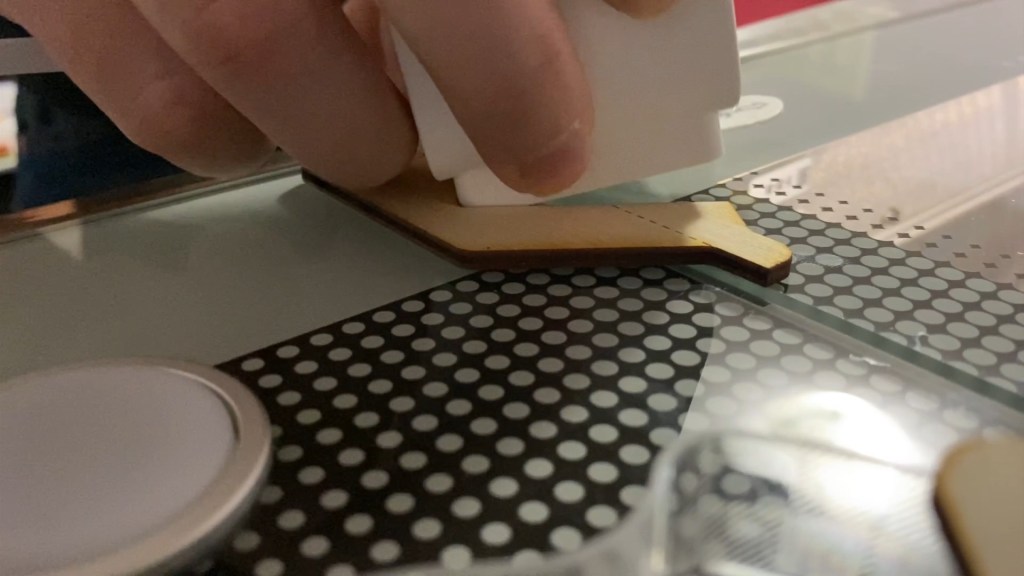
Hold template and place camera against rear of template and press down firmly

Camera should be stuck to Glowforge lid.
Remove template
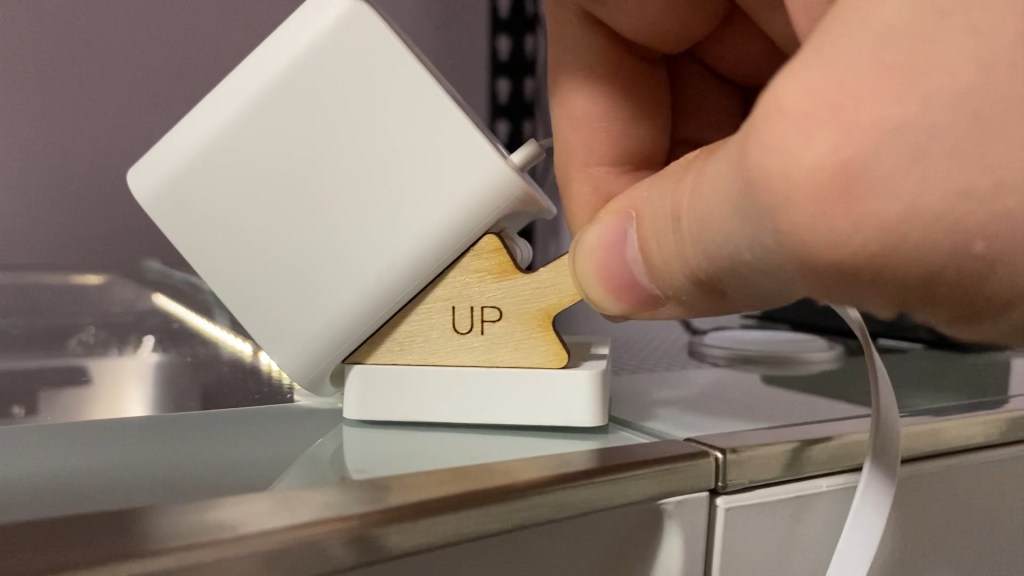
Press angle template into space under Camera.
Front of camera should be against the base.
Use angle template to set angle of camera
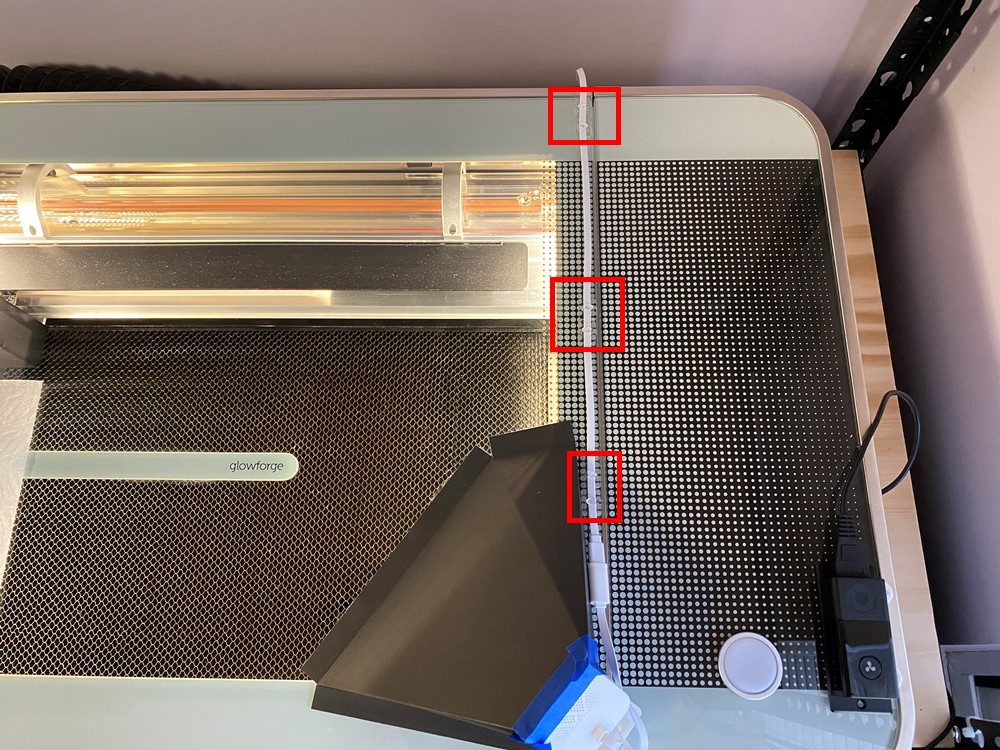
Cable Management
Use the Command Decorating Clips in pairs, one facing the center of the machine, one facing the outside of the machine
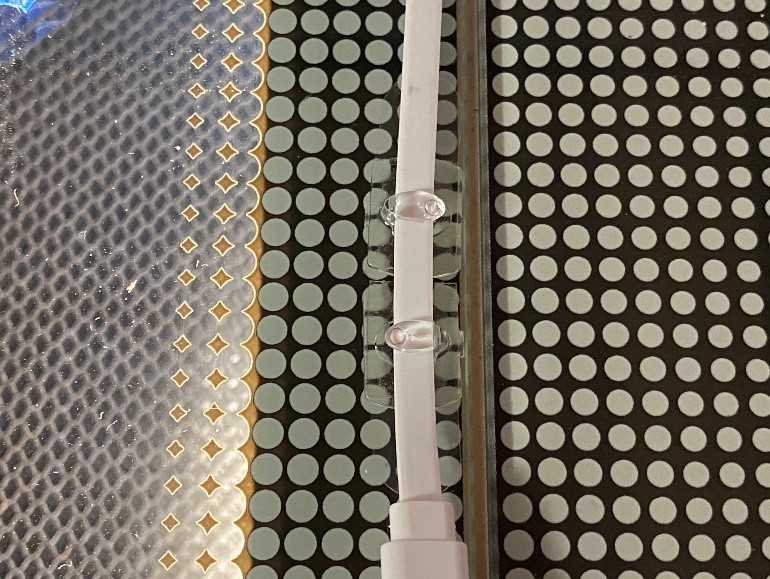
I find one pair at the rear of the lid, one pair toward the front, and one pair in the center works well to keep the power cable from getting caught in the lid
Anti-glare Cover for Wyze Cam v3 on Glowforge
This part is optional if your Glowforge is in a dark room and no reflections or glare are visible to the camera.
Materials Required
• 1x 8.5×11 Sheet Black Cardstock
• Double-Sided Tape
• Optional Cricut to cut cover shape
Installation
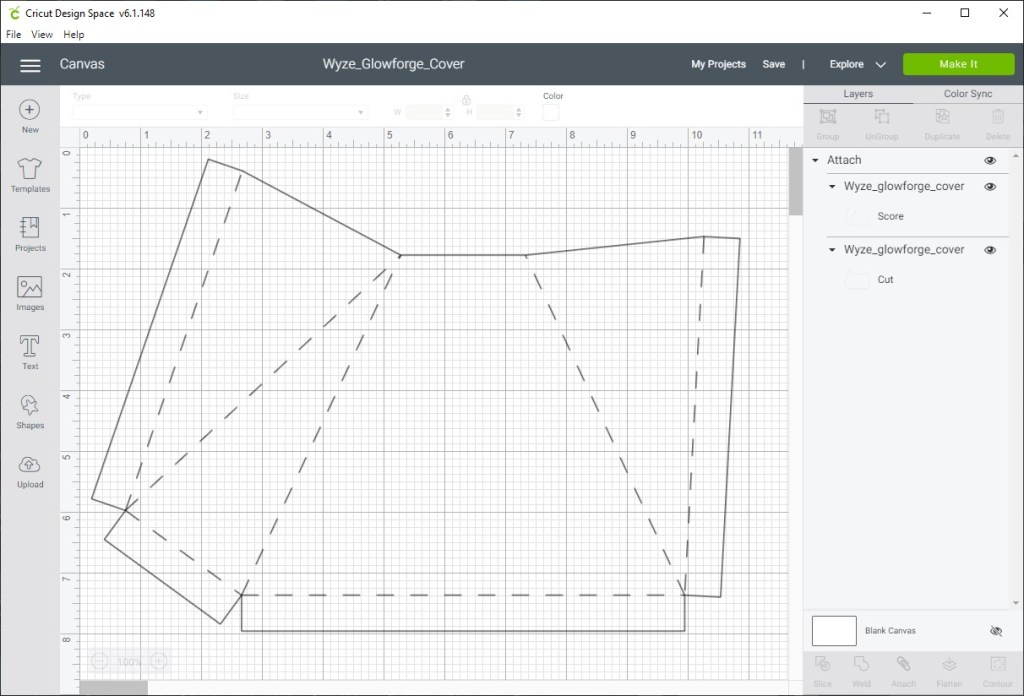
If using Cricut, upload Cover.svg into design space, setting inner lines to score (or ignore if you don’t have scoring tool) and outside lines to cut.
If not using a Cricut, it’s possible to cut with Glowforge. Ignore inner lines, cut outer lines.
Alternatively, it’s also possible to print Cover.svg at 100% and cut with scissors or hobby knife
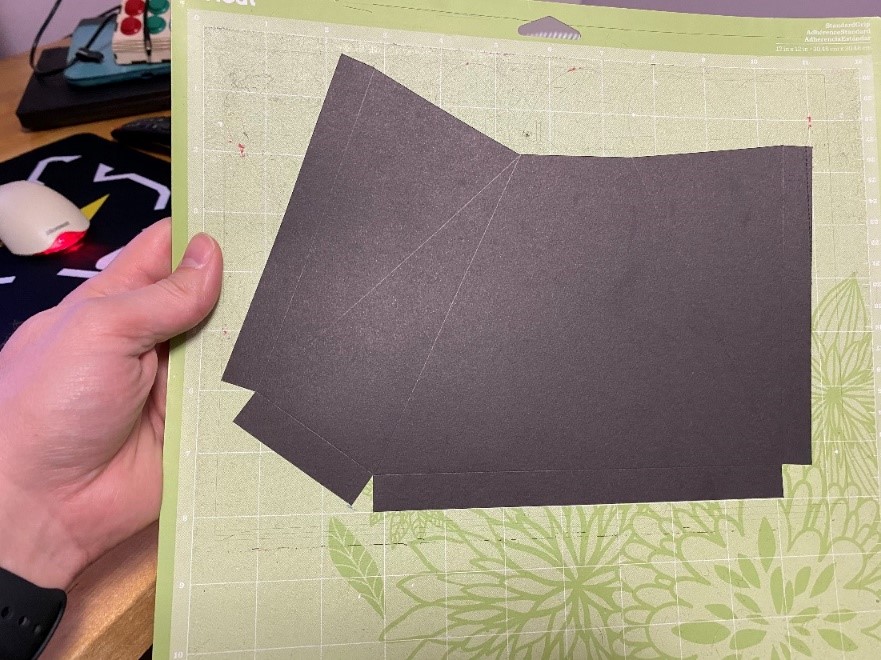
Verify cut piece looks correct.
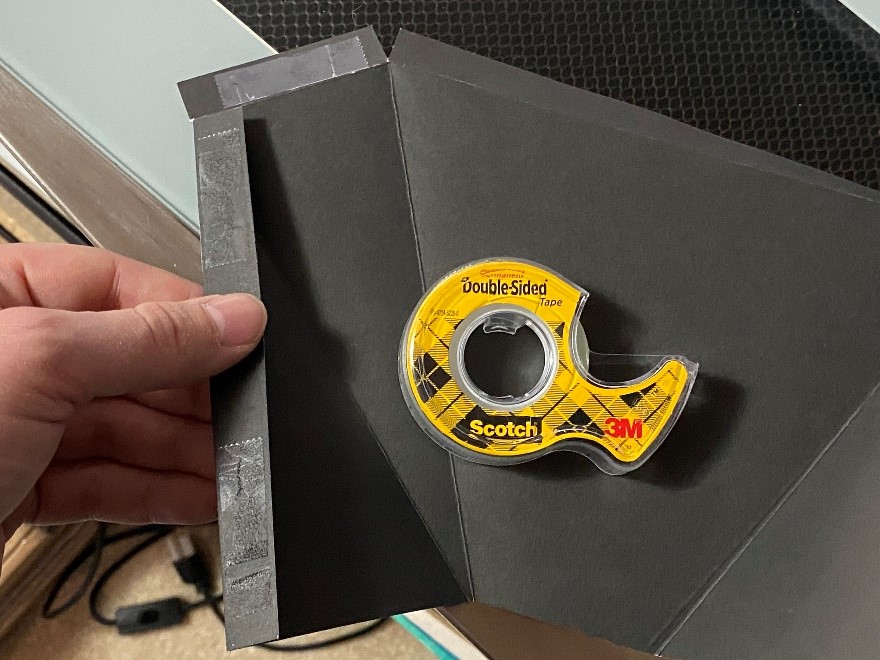
Rightmost flap folds under to make room for cable management
Rightmost flap should be sort of parallel with edge. Recommend test fitting before final tape
Proceed to tape flaps down around cover from right to left
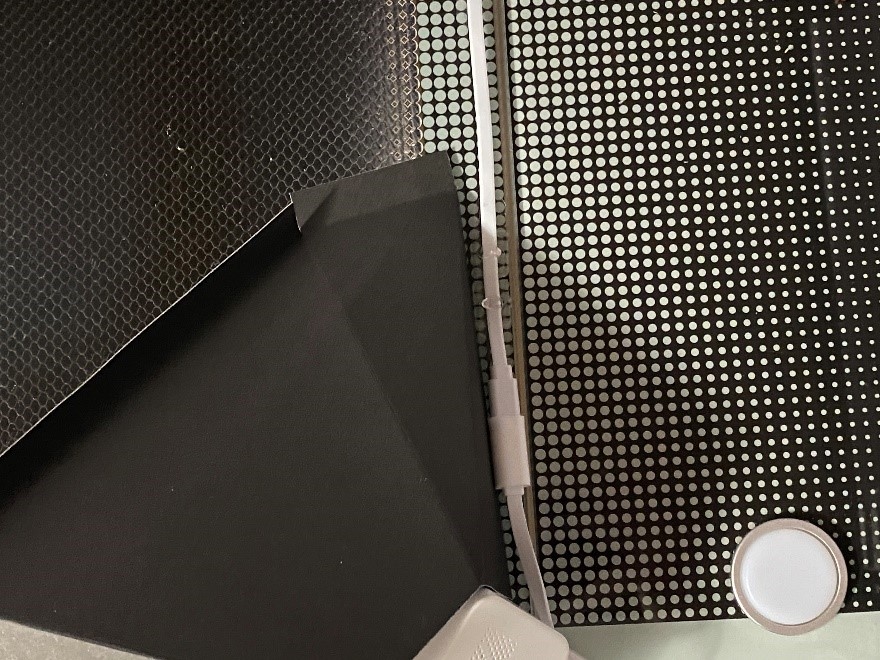
Leftmost flap should end at the edge of the frosted glass in front.
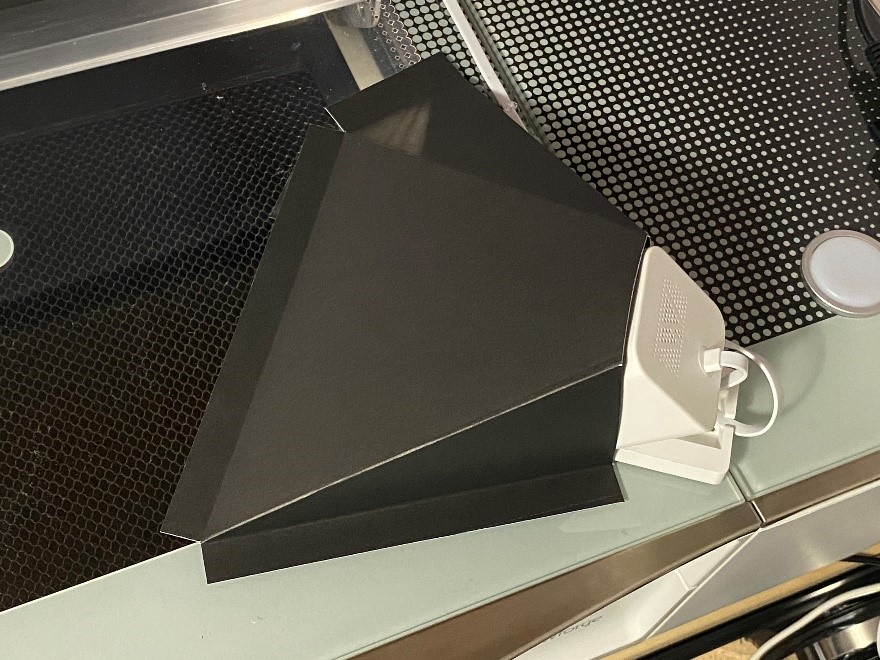
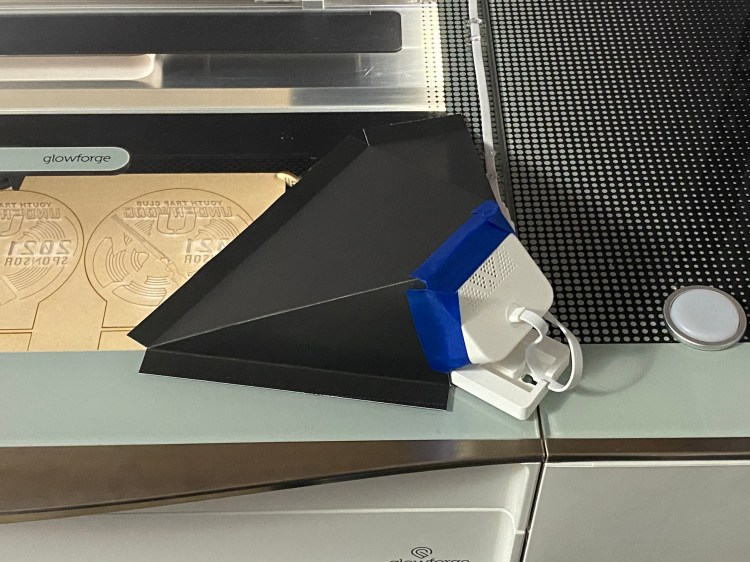
Final position should look similar to this
While the template should get the camera placement pretty close to the optimal position, you may need to turn the camera slightly. View the camera in the app and adjust as desired
Straight

Slight adjustment

If cover doesn’t feel secure, or light leaks around rear are still causing glare, use tape to secure cover to camera
Download Files
Wyze Camera Settings for Glowforge Timelapse.pdf
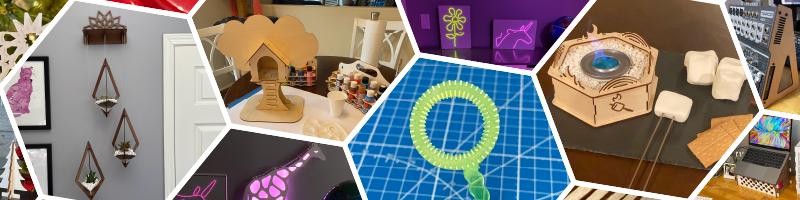
More Lasers Designs:
If you like this design you might be interested in some of my other laser posts

This is mind blowing!!!! I’ve always wondered what the best way was to get the time lapse for cuts and the right angle/position needed to be. You’ve taken care of EVERYTHING. Template, clear and detailed instructions and pics…this is greatly appreciated!!!! Thank you for being so generous!
LikeLike