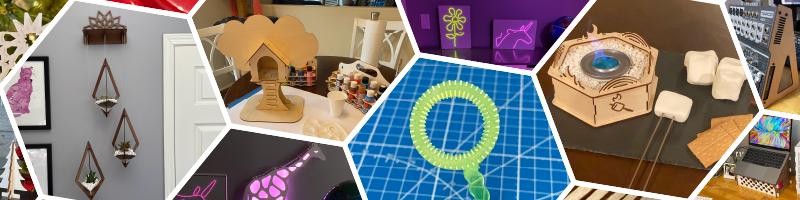
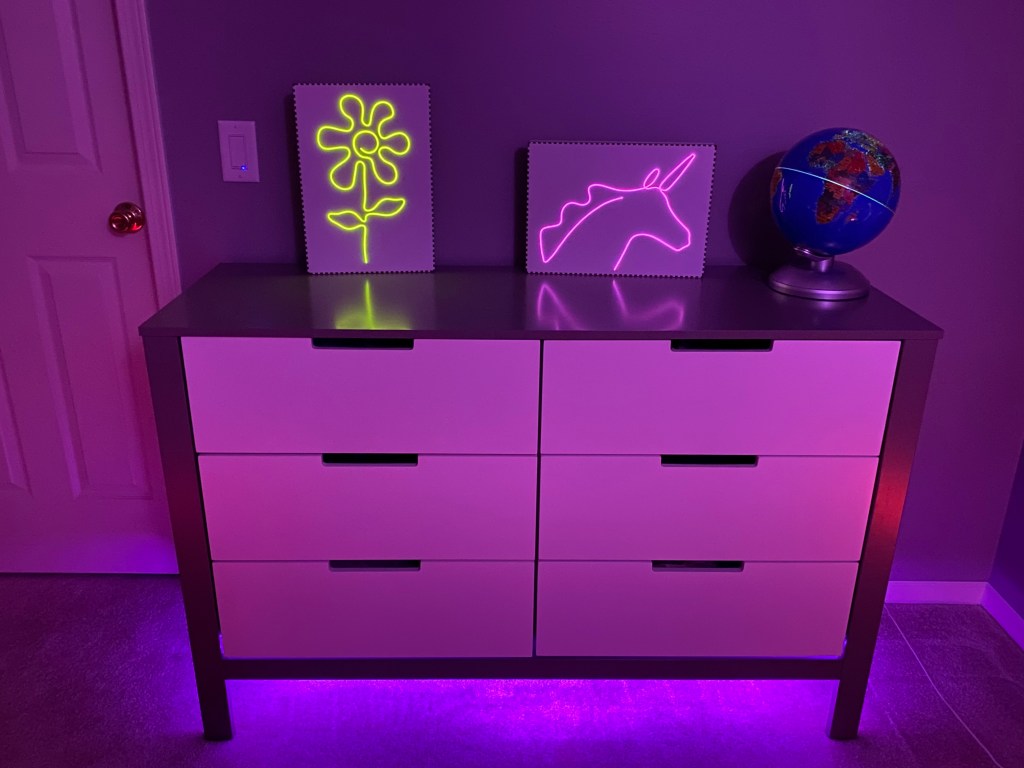
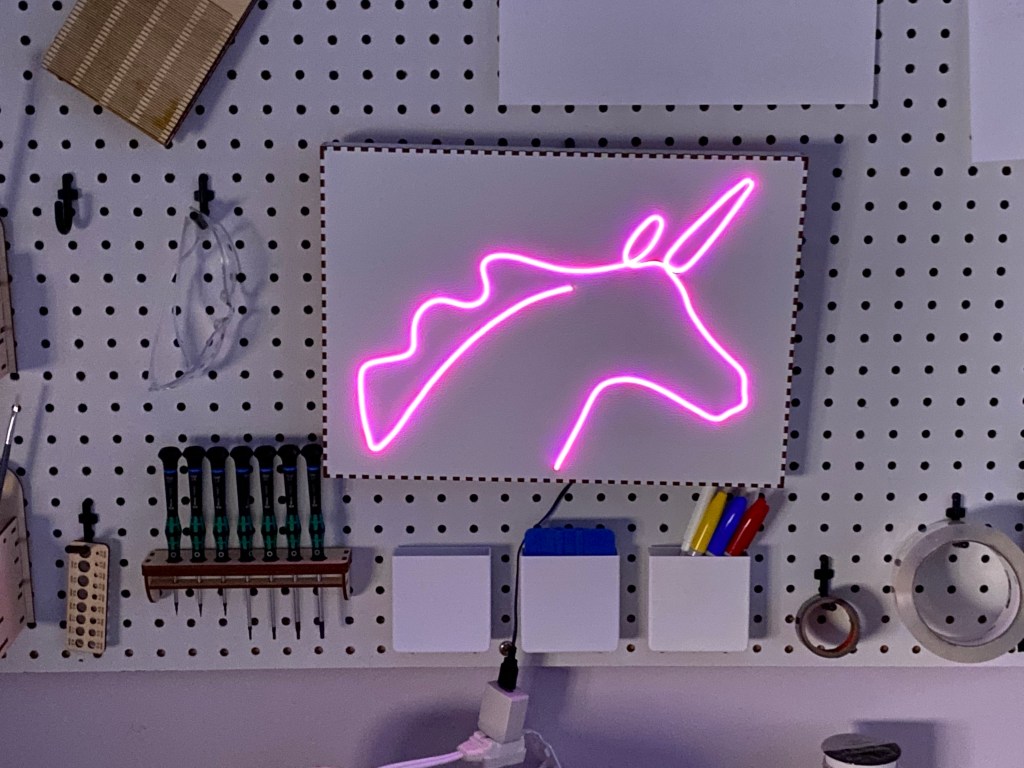
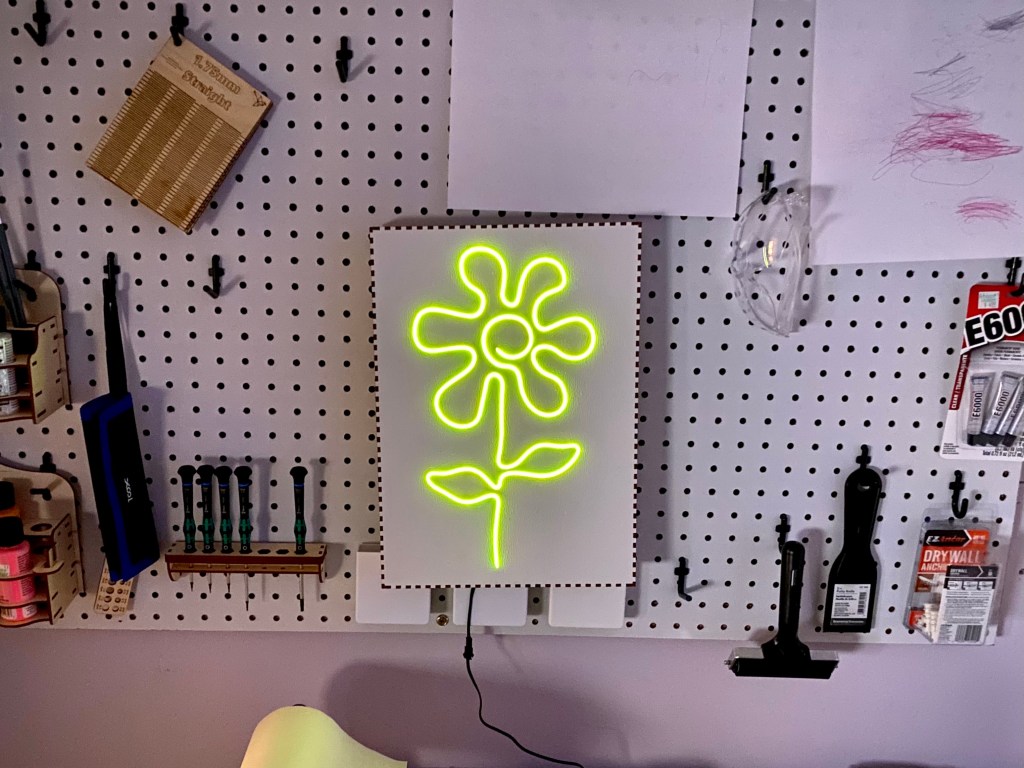
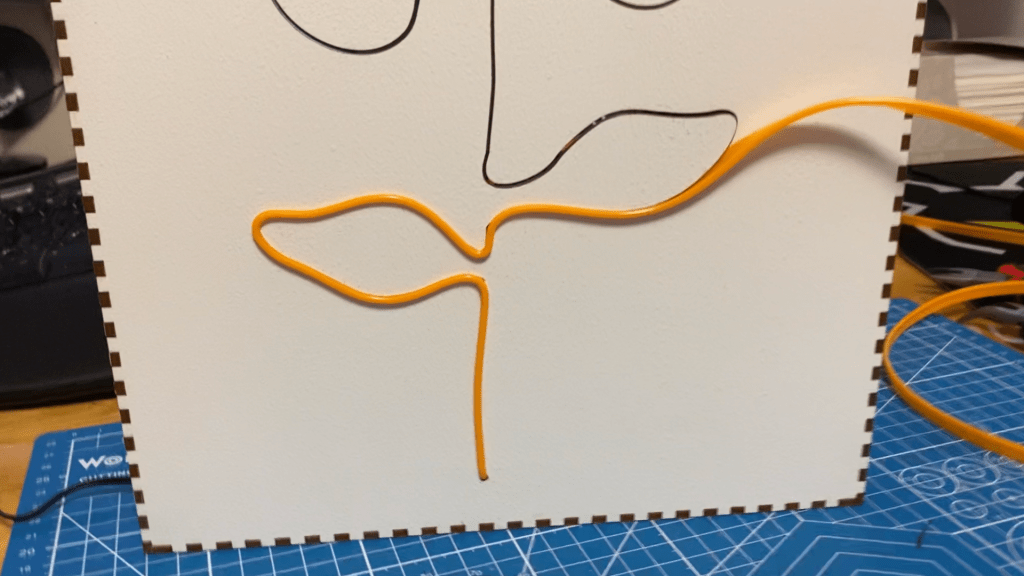
Turn your own doodles into eye catching glowing wall decor! Full tutorial, tips, and materials list.
Files for blank box and pictured designs available at the end of this post under extremely permissive copyright terms. Please go and make your own design!
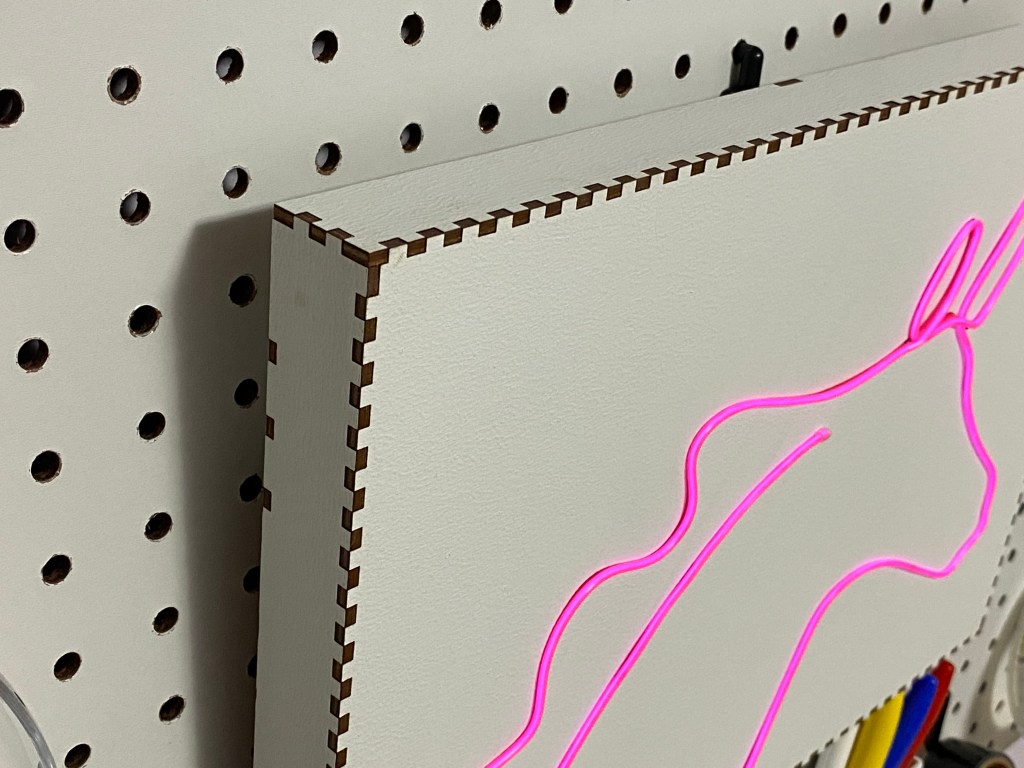
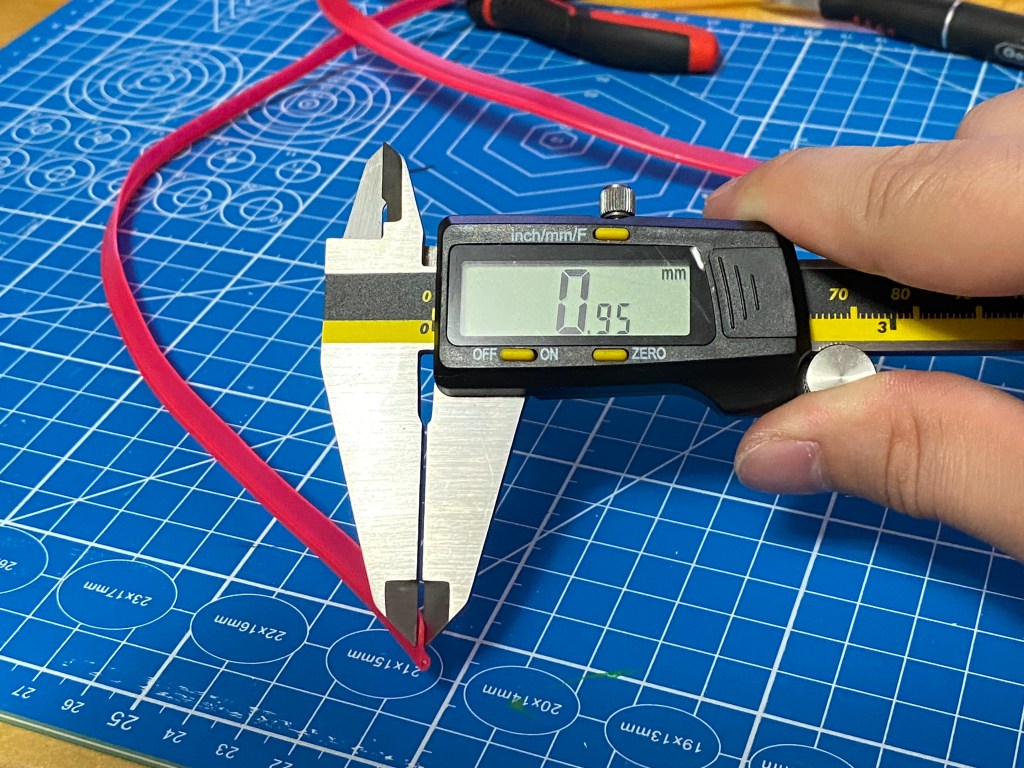
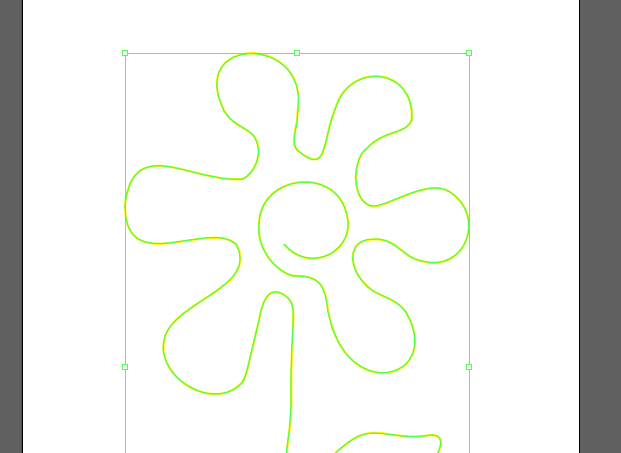
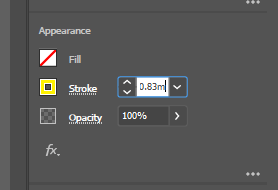
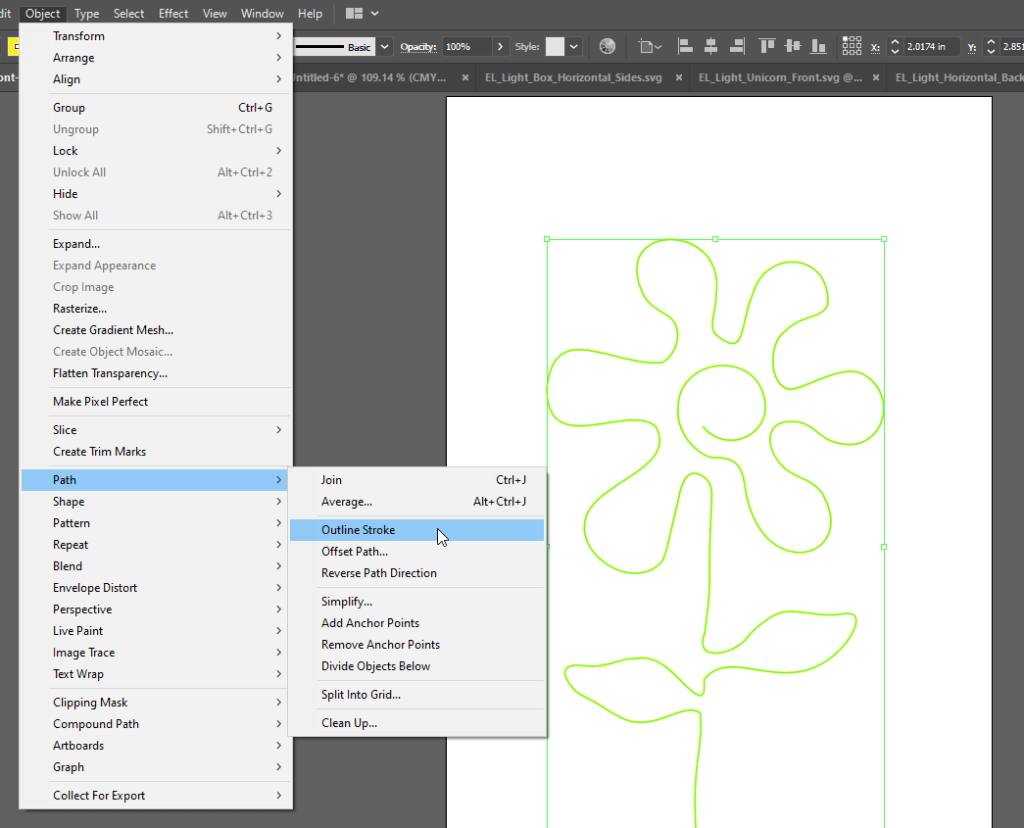
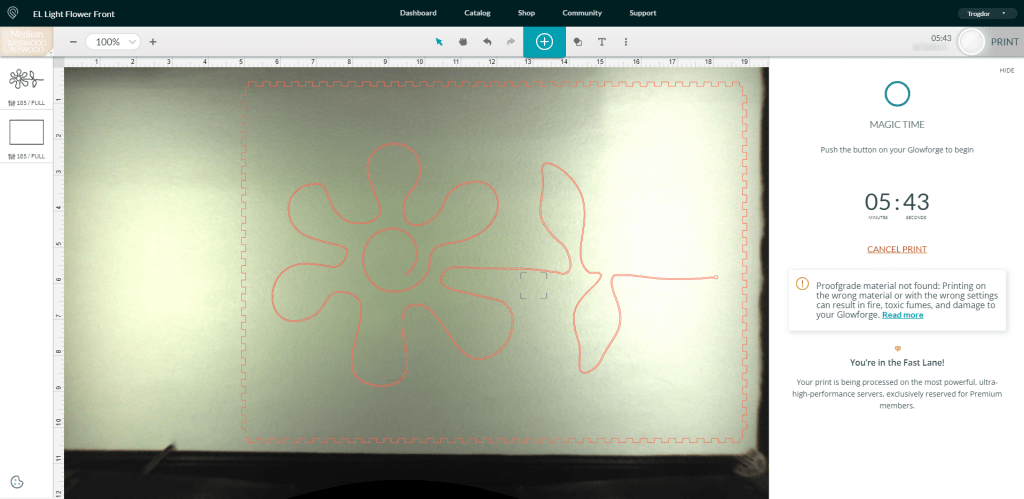
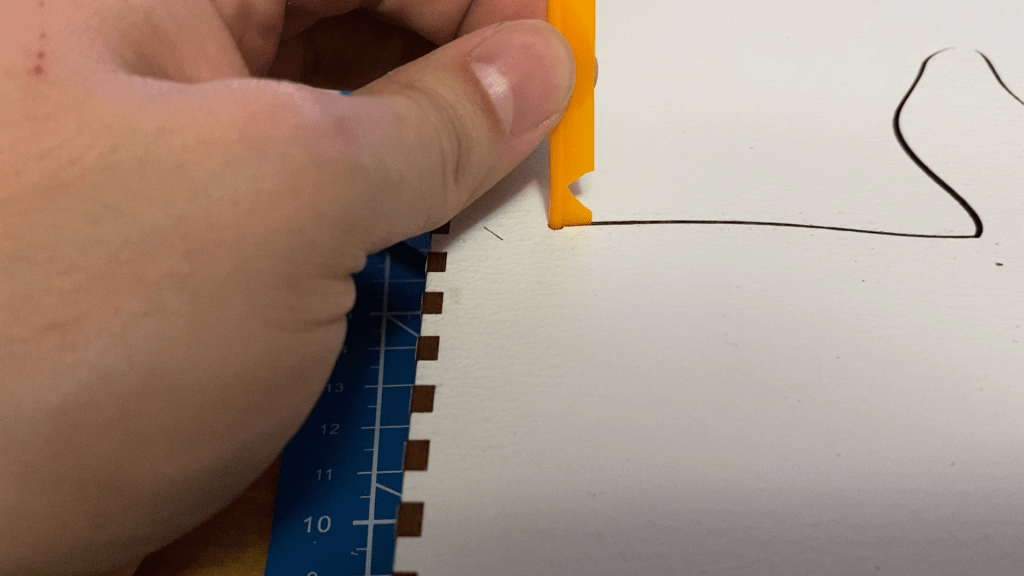
The process is pretty straight forward. Start with a single stroke line art. Measure the width of the sewing edge and subtract 0.12mm. Set the stroke width of the single stroke art to 0.83mm. Add circles at the end for the wire to poke through. Unit with pathfinder. Cut.
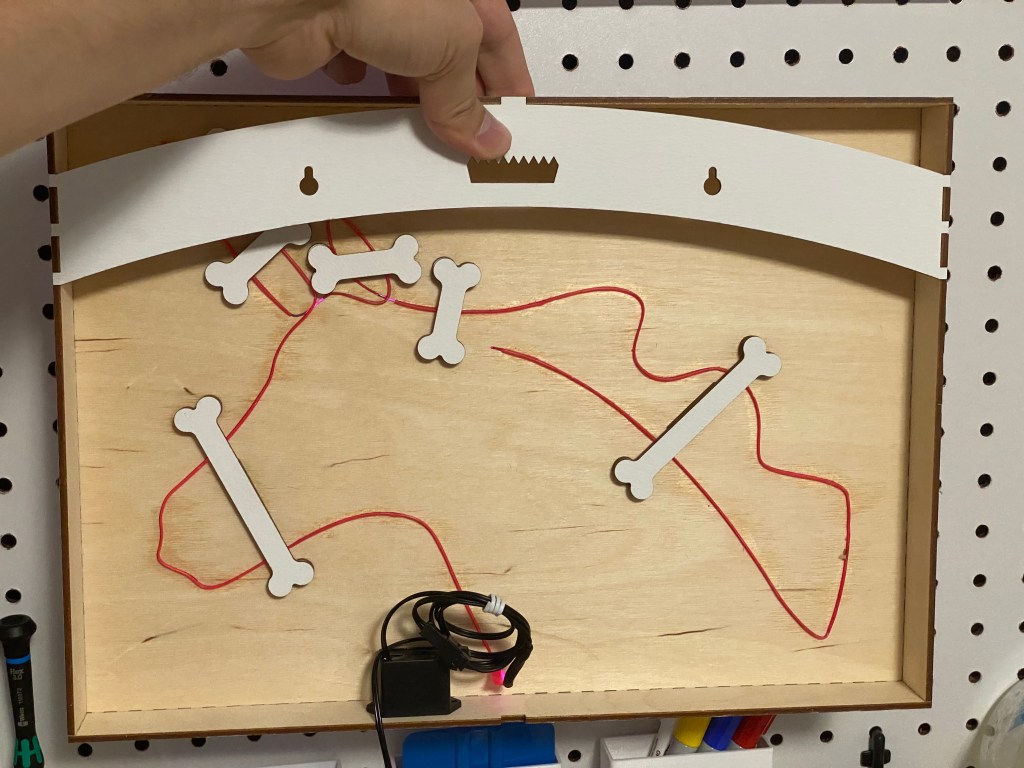
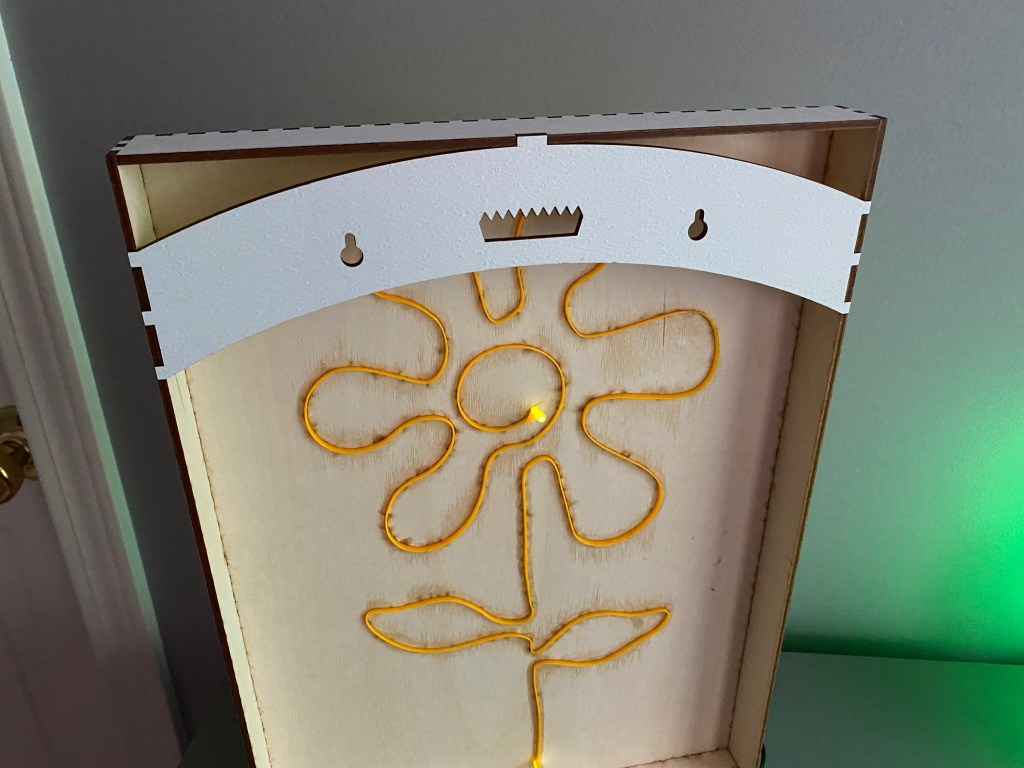
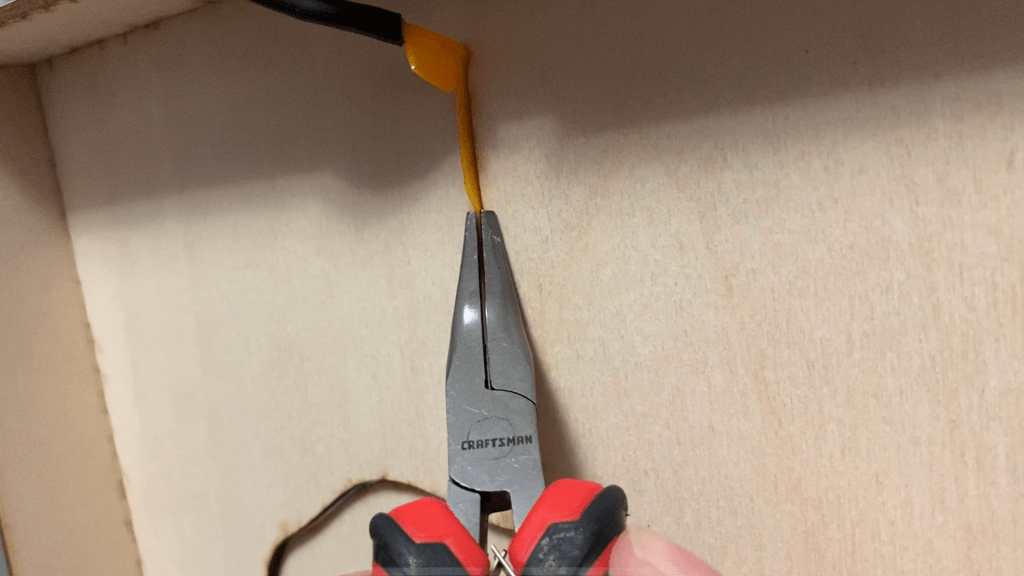
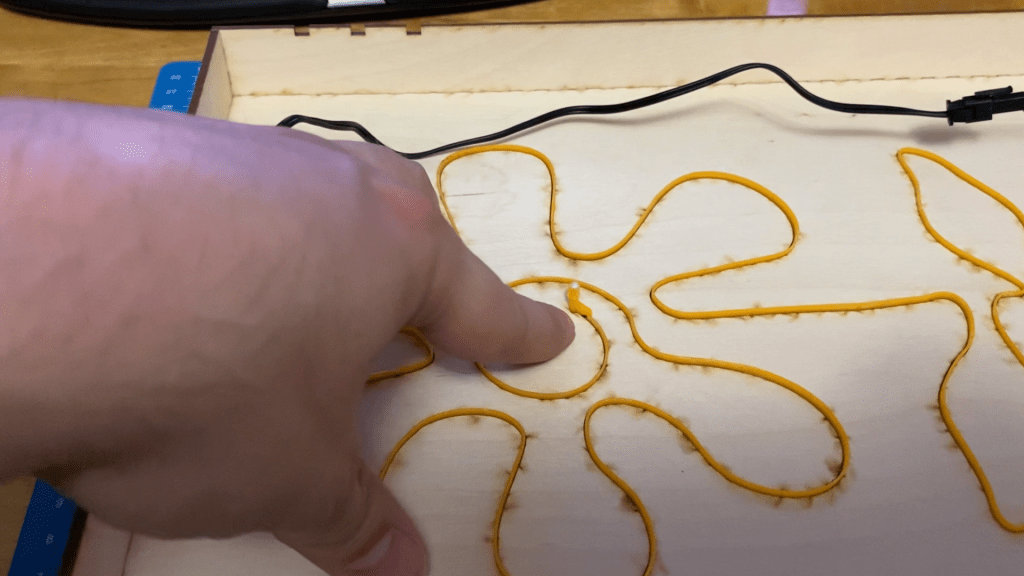
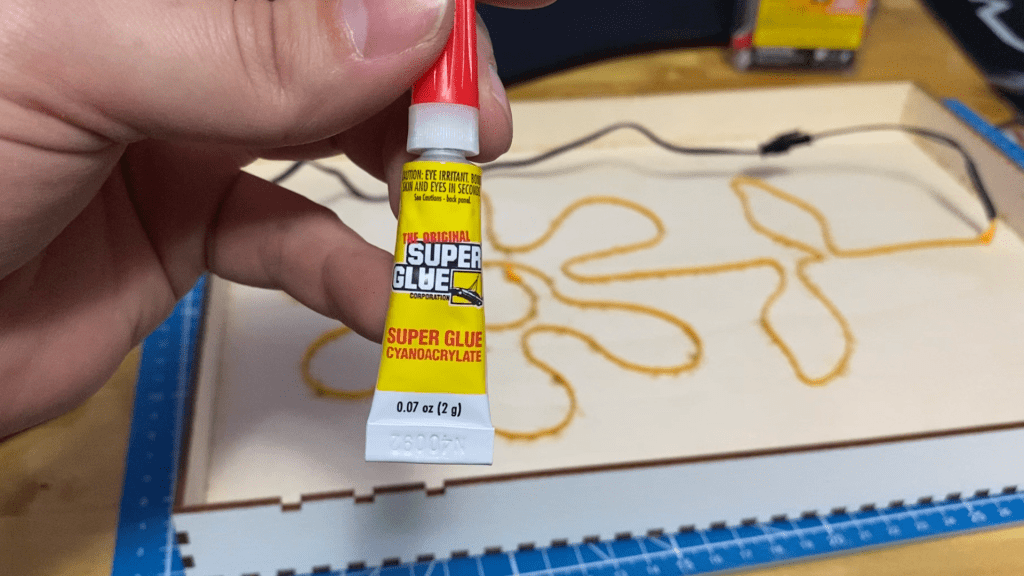
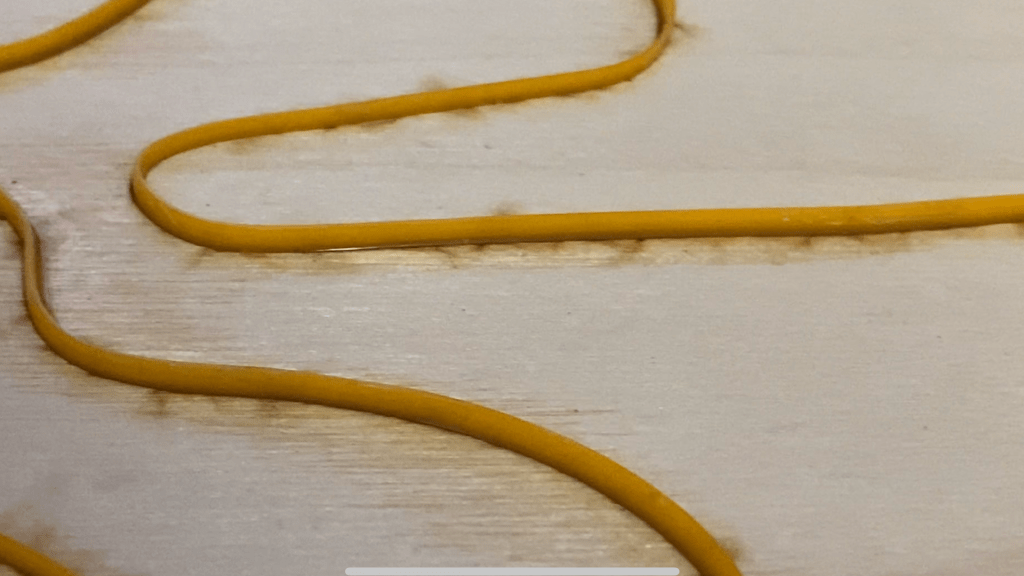
Insert the EL wire through the starting hole, notch the sewing edge so it can fold and sit flat. Insert sewing edge into slot through the entire design. Insert the free edge through the ending hole. Trim excess on the back. Push design flat and use A LOT of glue to hold the sewing edge in place and stiffen the piece.


Materials Used:
- USB El Wire Green 3M 5V with 6mm Sewing Edge
- USB El Wire Yellow 3M 5V with 6mm Sewing Edge
- USB El Wire Pink 3M 5V with 6mm Sewing Edge
- Paper Transfer Tape for Vinyl, 12 inch x 100 feet
- Super Glue Clear pack of 12
As an Amazon Associate I earn from qualifying purchases.
Download Files:
LICENSE NOTE: Only the files in electroluminescent_light_box.zip are Creative Commons Zero licensed.
All other content is copyright 2021 Ben Johnson All Rights Reserved
More Lasers Designs:
If you like this design you might be interested in some of my other laser posts