First things first, a picture demonstrating success.
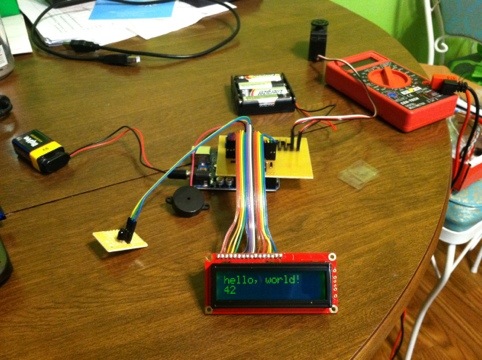
And a video!
Next, a link to the resources I needed http://www.ragingcomputer.com/2012/04/arduino-shield-etching-thoughts
After that, pictures. Lots of pictures.
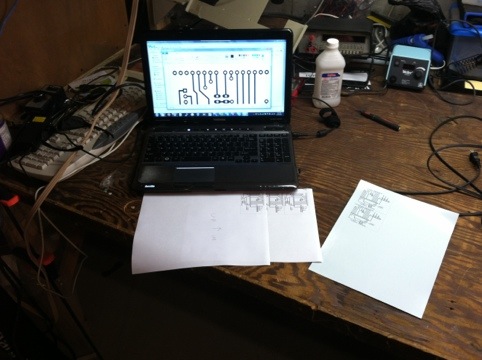
After much cussing at Eagle for having a learning curve, I think I’ve finally settled on a design.
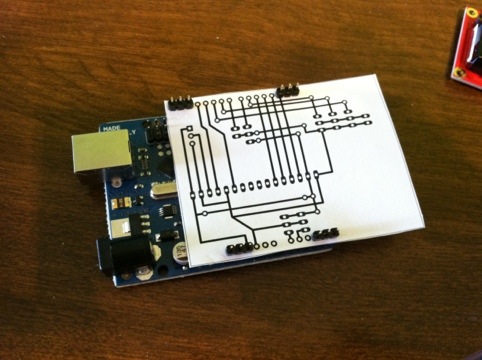
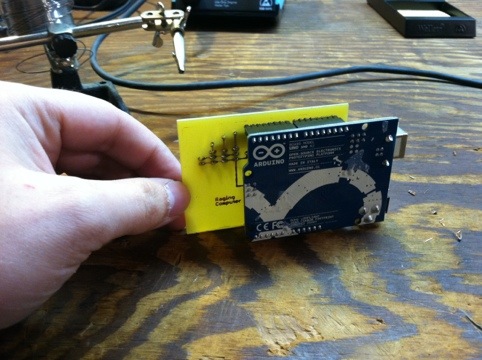
I want the traces on the bottom of the board, closer to the arduino. I was careful to route the traces and connections around the ICSP header.
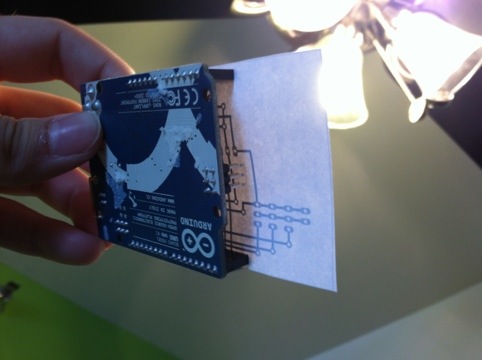
After some futzing, I got it printed.
And my first 2 attempts were failures. The PCB on the left didn’t completely transfer. The one on the right smudged and smeared.
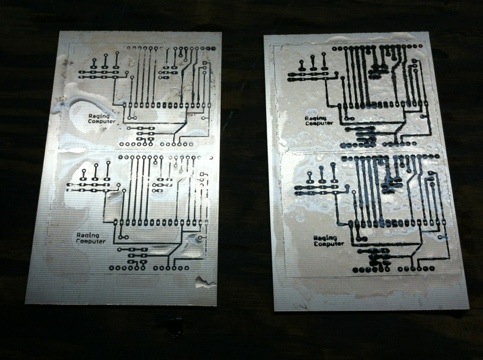
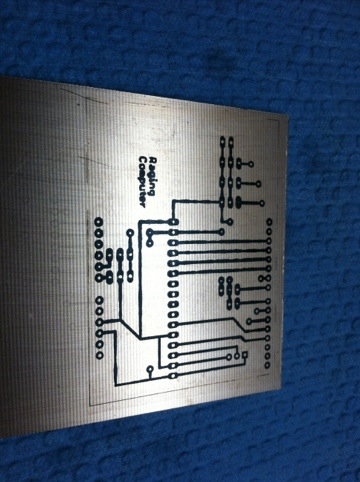
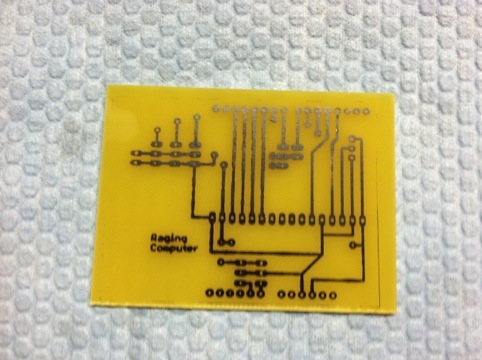
The third attempt wasn’t fantastic either, but it looks like it’ll at least function. I’ll take it.
And into the Ferric Chloride.
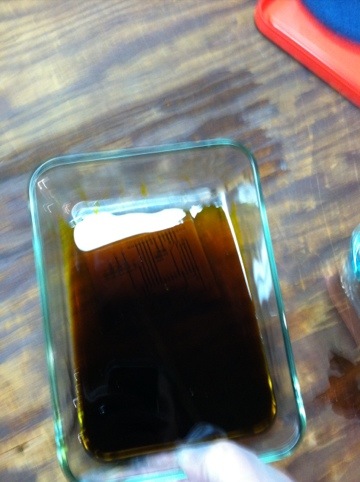
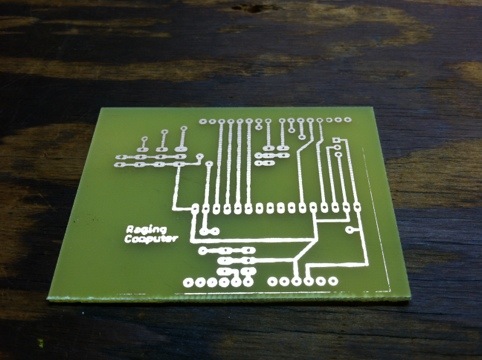
It looks a lot like it did when it went in, but with less copper.
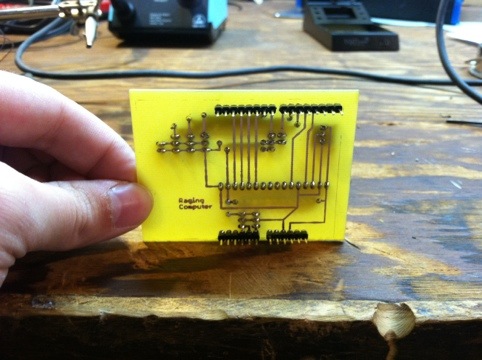
A quick clean and it looks like something I can use.
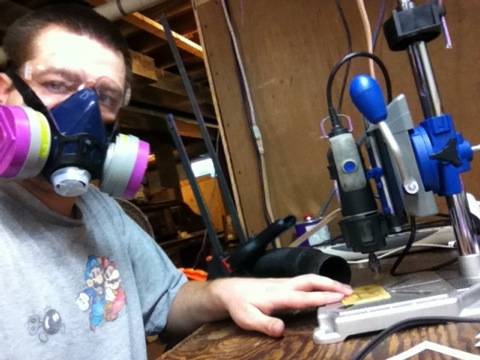
I know the mask is overkill, but it’s the only mask I’ve ever used that fit comfortably. Also note how I’m using these, safety glasses. Also, why have I not bought a dremel drill press before? I think I’m in love already.
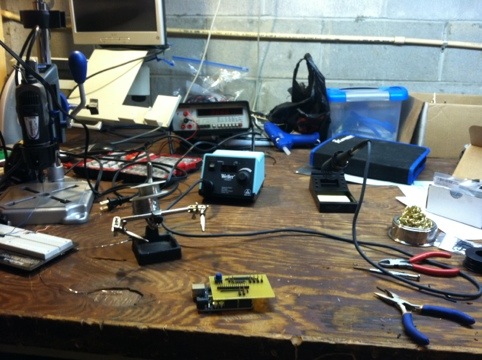
I must have been having fun, I sure made a mess of my work bench.
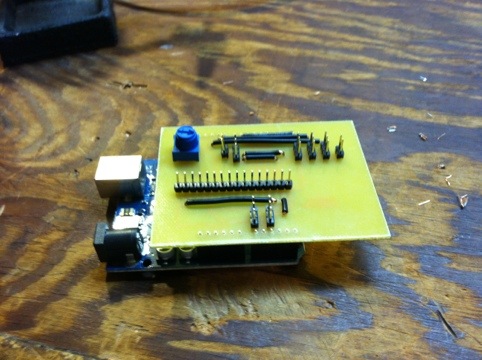
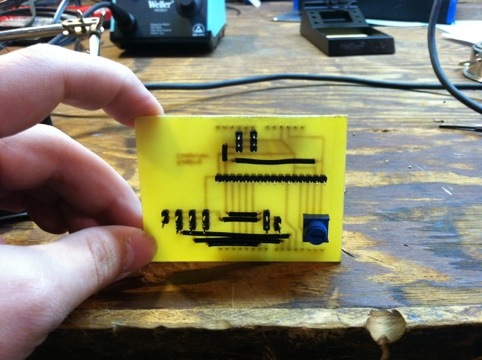
And here she is, all soldered up with pin headers, jumper wires, and a potentiometer.
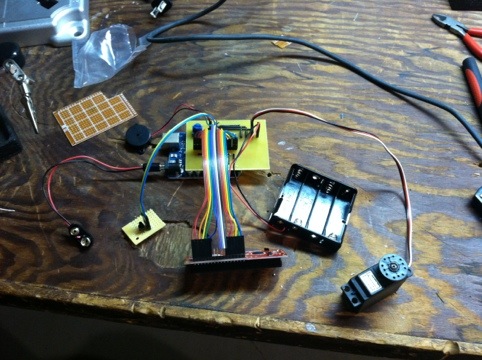
Next I put connectors on everything I had on the breadboard. The final picture is the one at the top of the post. The software is very rough, but it’s a start.