The menu for the panorama robot is slowly getting more useful as I learn how to make the menu structure. Once I figure out saving values between power cycles, I’ll be ready to mount the 16×2 LCD screen.
Of course I can’t show the video without also showing the result (scaled to 50% to keep filesizes manageable).
I have mentioned panoramas before. This time, it got lazy. I’m sure things will improve, since this is the first run.
It uses a lazy susan bearing, 2 Futaba S3004 servos, a Hitec HS-55 micro servo, an Arduino UNO SMD, a pile of brackets, bolts, boards and wires. I whipped up an arduino sketch that starts the panorama when I hit the letter “a” in a serial terminal, prints the servo angles for each stop, then waits for input when it’s done. I’ve decided on a 10 degree step in both pan and tilt with the zoom in all the way on the Nikon S220 camera. To get the pictures to my laptop, I use my Eye-Fi Share 2GB SD card. I then use Microsoft Image Composite Editor to stitch them.
And here’s the result, scaled down to a reasonable size. There are definitely some stitching errors. I suspect having the camera angle skewed to the right doesn’t help much.
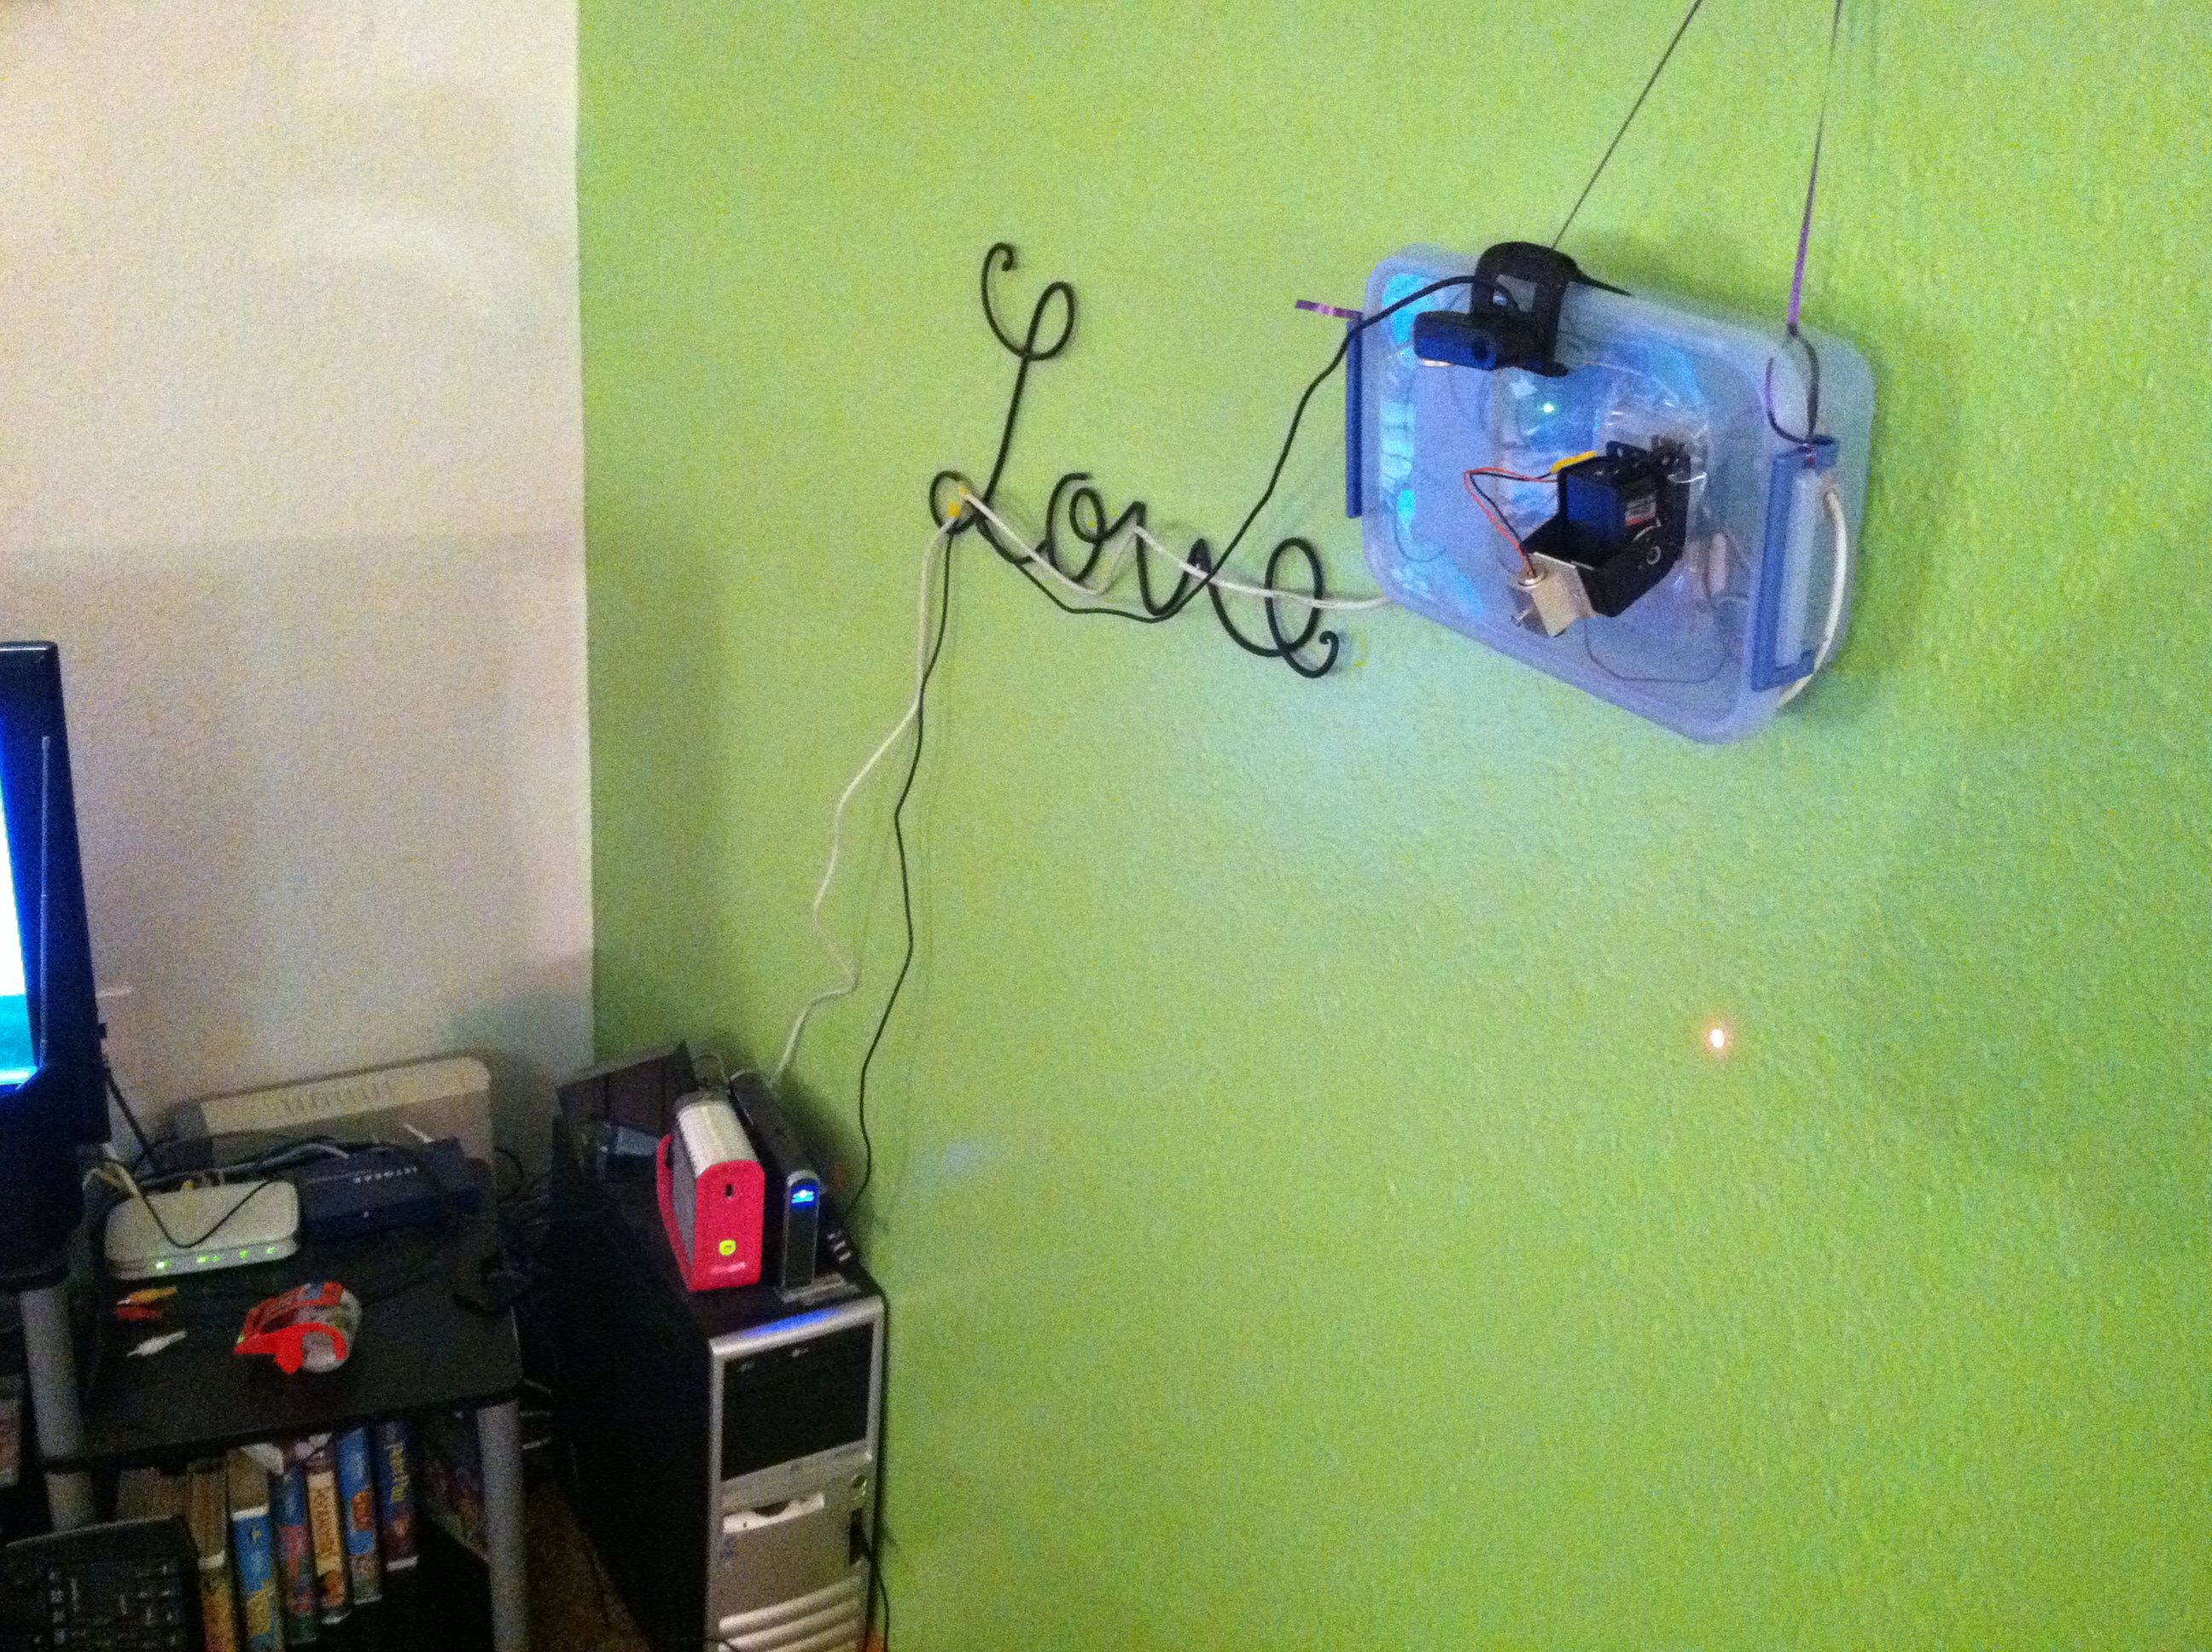
I got an Arduino Uno for Christmas last year, and of course the first thing I think of is laser pointer turret. I played with this for months while I learned the basics of Arduino programming. It was knocked apart when hail totaled my Trailblazer.
To simplify rebuilding the turret, I bought a pan/tilt kit from trossen robotics. I upgraded the laser from a wal-mart cheapo with the buttons taped. Aixiz lasers are inexpensive and very easy to use. The aluminum mount is taped to the pan tilt kit.
The arduino and radio shack project boards are housed in a plastic bin I bought from wal-mart for a couple bucks. I hung it on the wall with a piece of decorative ribbon swiped from my girlfriend’s wrapping bin. I wanted to see the cats attacking the laser, so I dug out my webcam.
The attic was hot. Mounting a large fan in the vent seemed to help, but it was drawing 5.5A continuously, which is too much for the thermostat/humidistat my roommate bought. He left it on all the time, which is quite a bit of wasted power. I’ve seen 1wire devices online for quite a while and I’ve always wanted to play with them. The easiest way I can afford to connect sensors to computer is with 1wire. I’ve found my excuse.
Project Requirements
At work we needed a time lapse camera of our new student center construction project. It needs to run continuously for entire length of construction project – approx 18 months. It should run mostly unattended.
Features
It captures 1 picture every 5 minutes. Storage capacity is cheap, so after using excel to make some projections, this worked out to be a reasonable rate for our resources. After some more research, I came to the conclusion that flash video has compatibility with most visitors while being relatively bandwidth efficient, but other codecs could be used. I originally got the idea from http://mydebian.blogdns.org/?p=261 but it wasn’t quite awesome enough, so I rewrote using Perl and expanded upon it.Continue reading “Time Lapse Webcam”
When he saw my first jukebox, My friend Derek wanted a touch screen jukebox… So we built him one! A star trek jukebox! (Derek is a good friend so I took payment in Mtn Dew and Taco Bell)
The case is made of MDF, the front is made if plexiglas pained from behind, an old computer case donated the power supply connector and motherboard tray, a touchscreen pulled from a kiosk was purchased on eBay. The rest of the stuff probably came from Radio Shack and Home Depot.
I may be a nerd, but I think Star Trek LCARS is the coolest interface around. So I made an LCARS skin for DWJukebox.
The best free jukebox software I’ve seen so far – DWJukebox
I was finally able to put in the switches and hook up the controls tonight/this morning.
Here it is. The jukebox software started right up and everything worked perfectly on the first try.
Closeup of the buttons. The protective coating is still on the plexiglas.
Here’s the rat-nest of wires in the back. I don’t have cable ties on anything yet. The keyboard encoder is just taped to the side with double sided foam tape. The terminal strip is screwed to the bottom.


